
Home / Guides / How to Plan Picture-Frame Moulding Around Furniture and Openings
Layout planning
By Wall Haus · Published
How to Plan Picture-Frame Moulding Around Furniture and Openings
Picture-frame moulding looks simple because its lines are controlled. That makes inconsistent gaps and awkward endings easy to notice. The most useful starting point is a measured elevation showing the room’s fixed features and the furniture that will remain in front of it.
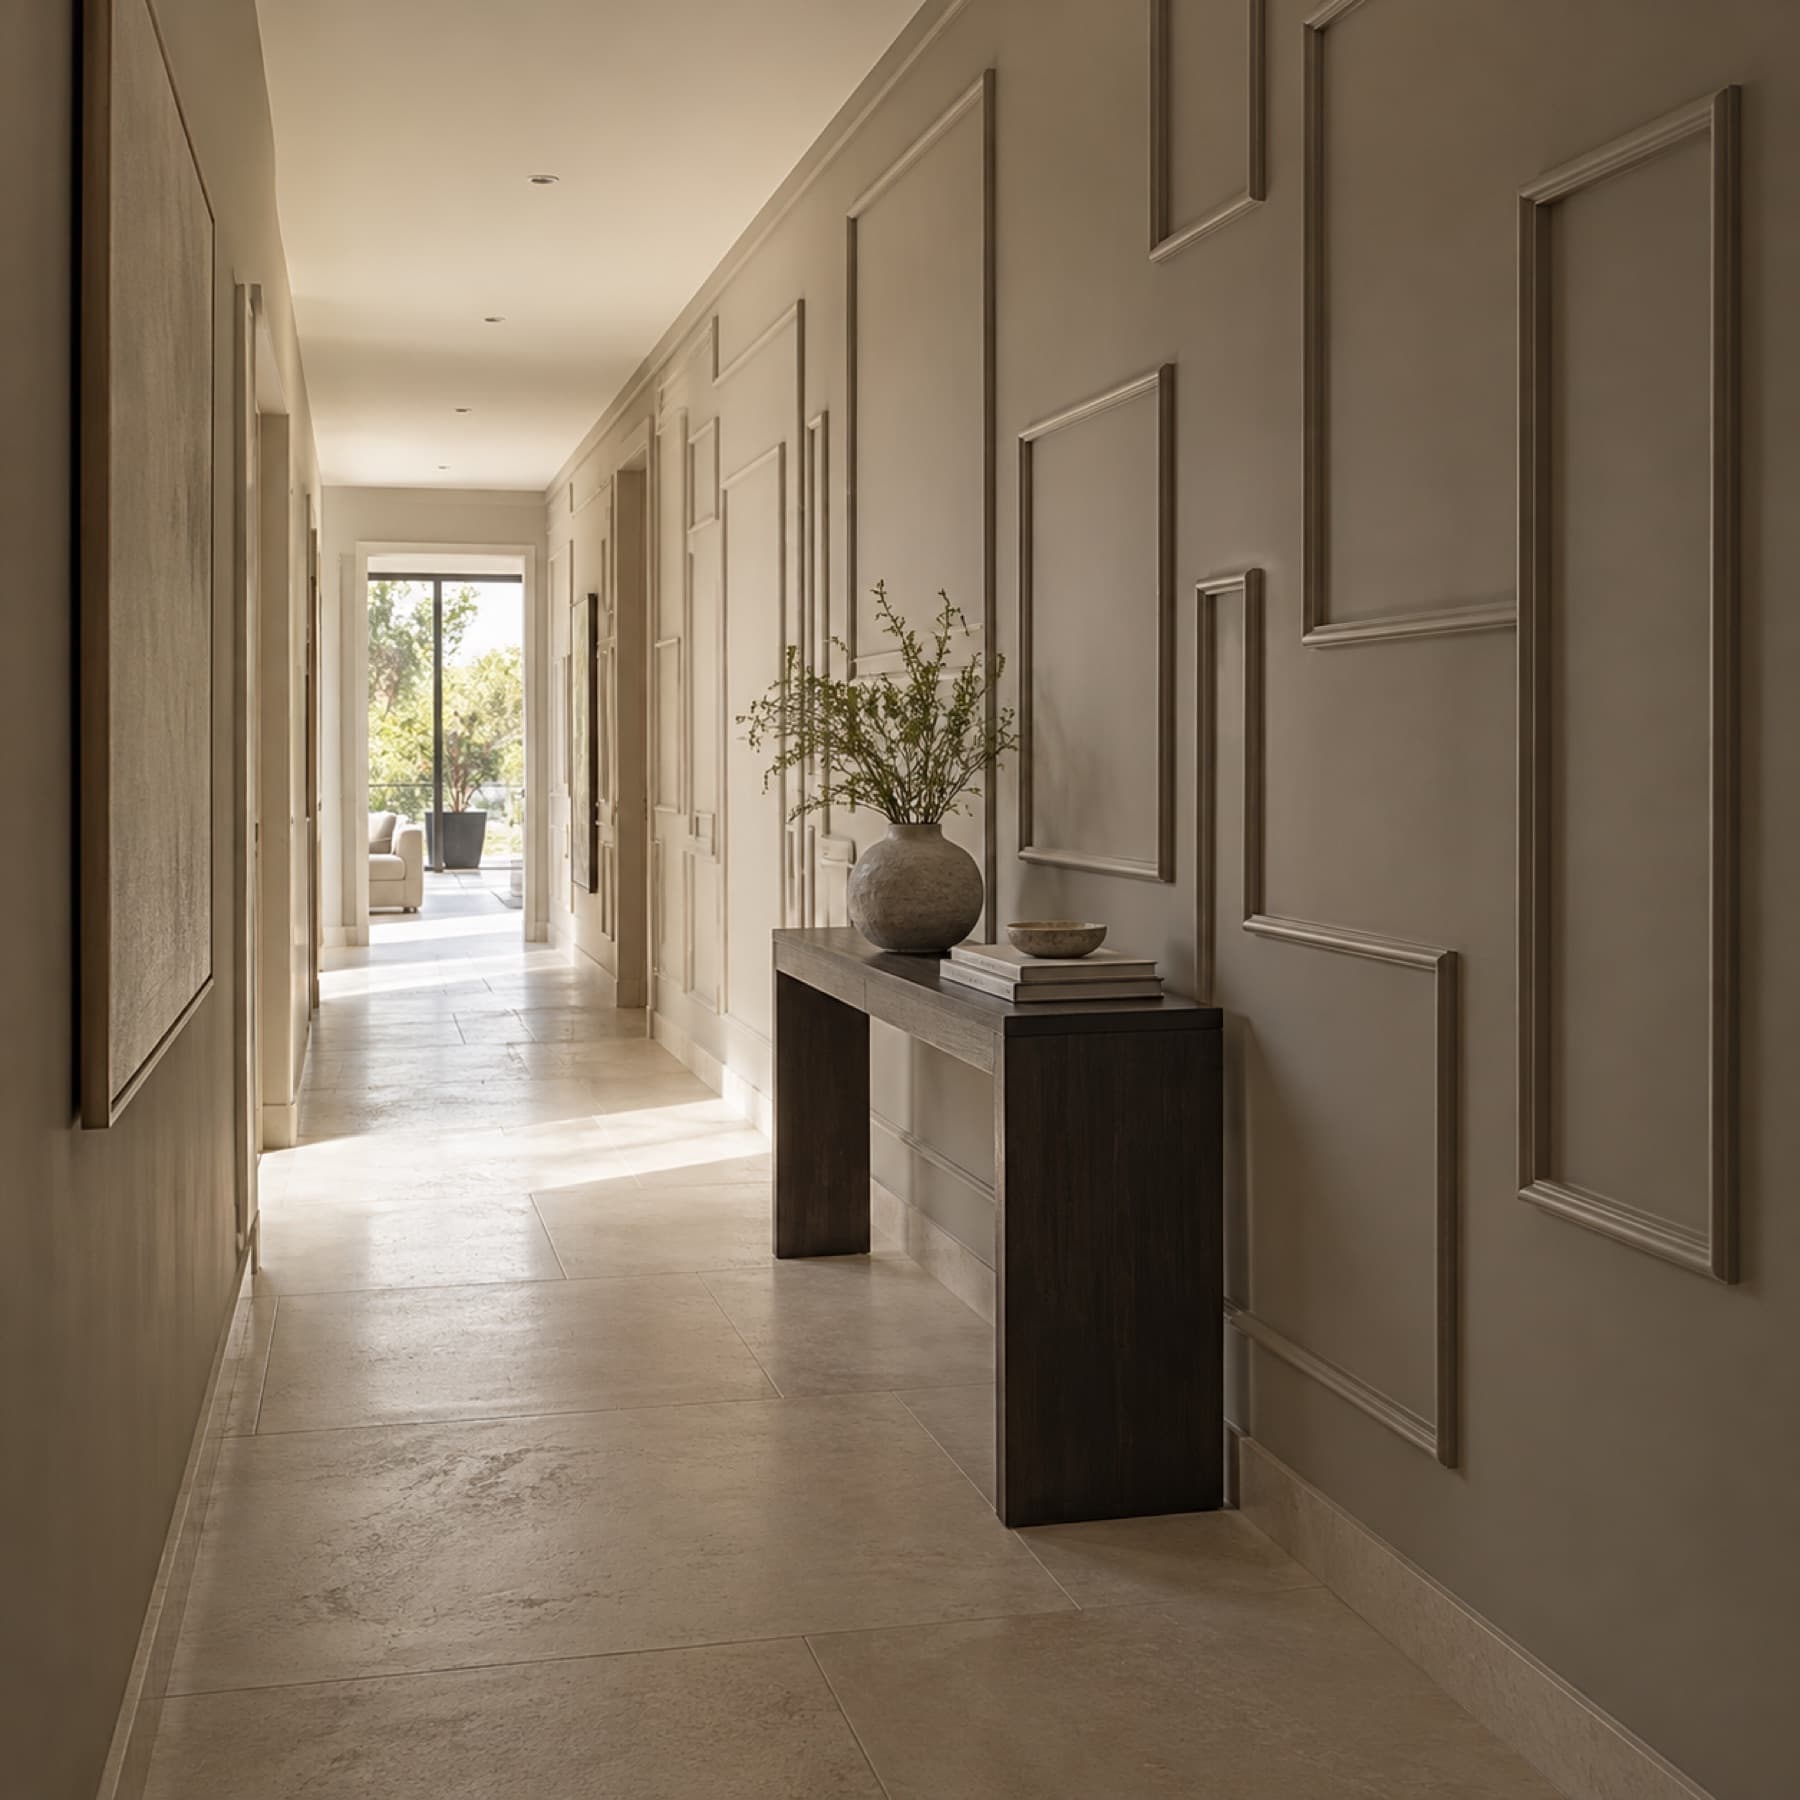
Map the wall before dividing it
Record the width and height, then locate doors, windows, casings, switches, outlets, vents, and any wall-mounted equipment. Include the baseboard and crown rather than measuring only the blank drywall. Furniture is another layer: a sofa back or headboard can hide a horizontal line that looks well placed on an empty-wall drawing.
Set the margins and gaps first
Choose a clear distance from surrounding trim and a repeatable gap between frames. Then divide the remaining width into panels. For a simple run, clear panel width equals available run width minus the two end margins and all between-frame gaps, divided by the number of frames. State whether dimensions refer to the outer frame, inner opening, or trim centerline; mixing those conventions produces cutting errors.
Use symmetry where the room supports it
Equal-width frames are a useful starting point on an uninterrupted wall. They are not always the right solution beside an off-center door or a large opening. Align important lines with the architecture and compare the composition from the main viewpoint. A deliberately wider center frame can be more balanced than forcing every frame to match.
Test the chair rail against furniture
A chair rail divides upper and lower wall fields. Its height should respond to furniture, adjacent trim, and the desired proportions. Mark the proposed height with removable tape and view it with the sofa or dining chairs in position. If a furniture back nearly coincides with the rail, move the proposed line enough to create a clear intentional relationship. There is no single height that fits every room.
Resolve interruptions before installation
Draw the profile at full width around switches and casings. Avoid tiny leftover strips or a frame that almost touches an outlet plate. Discuss how a rail ends at a doorway and whether existing baseboards stay. A digital mockup helps select proportions, but verified site measurements and a final layout are still needed before cutting. Include moulding width, projection, joints, finish, and all clear gaps in the approval.
See these ideas in the design library →
Related guides
Continue planning
Bring the room into the conversation.
Photos, approximate dimensions, location, inspiration, and known conditions are enough to start.