
Home / Guides / Fluted, Reeded, or Slatted? A Guide to Wall Panel Profiles
Profiles & materials
By Wall Haus · Published
Fluted, Reeded, or Slatted? A Guide to Wall Panel Profiles
“Fluted” is often used loosely for several ribbed surfaces. For a custom wall, the useful question is what the profile actually does: curves inward, rounds outward, forms an angled face, or separates into individual slats. A cross-section and a physical sample communicate that more clearly than a product name.
Inward flutes and outward reeds
A concave flute is a groove that curves into the surface. A convex reed is a rounded rib that projects outward. Repeating either shape produces a textured field, but the highlight and shadow fall differently. Product naming varies, so ask to see the end profile rather than assuming that two products described as fluted will look alike.
- Concave: recessed curved channels
- Reeded: raised rounded ribs
- Check rib width, pitch, depth, and the flat area between repeats
Beveled faces offer another direction
An angular profile can use two sloped faces that meet a narrow flat. The slopes may be specified at 45 degrees, but their angle, depth, and flat width must be defined together. A broad flat with shallow bevels reads differently from a narrow ridge with deep angled sides. A drawing should show the complete repeat, including how adjacent panels join.
Slats are a separate construction choice
Slatted walls use repeated strips separated by gaps or a visible backing. A routed or molded panel can instead create texture within a continuous surface. The distinction affects exposed edges, corners, joints, mounting, and the appearance behind a television. Decorative texture alone does not establish an acoustic rating; any sound-performance requirement needs a tested assembly.
Judge the pattern across the entire wall
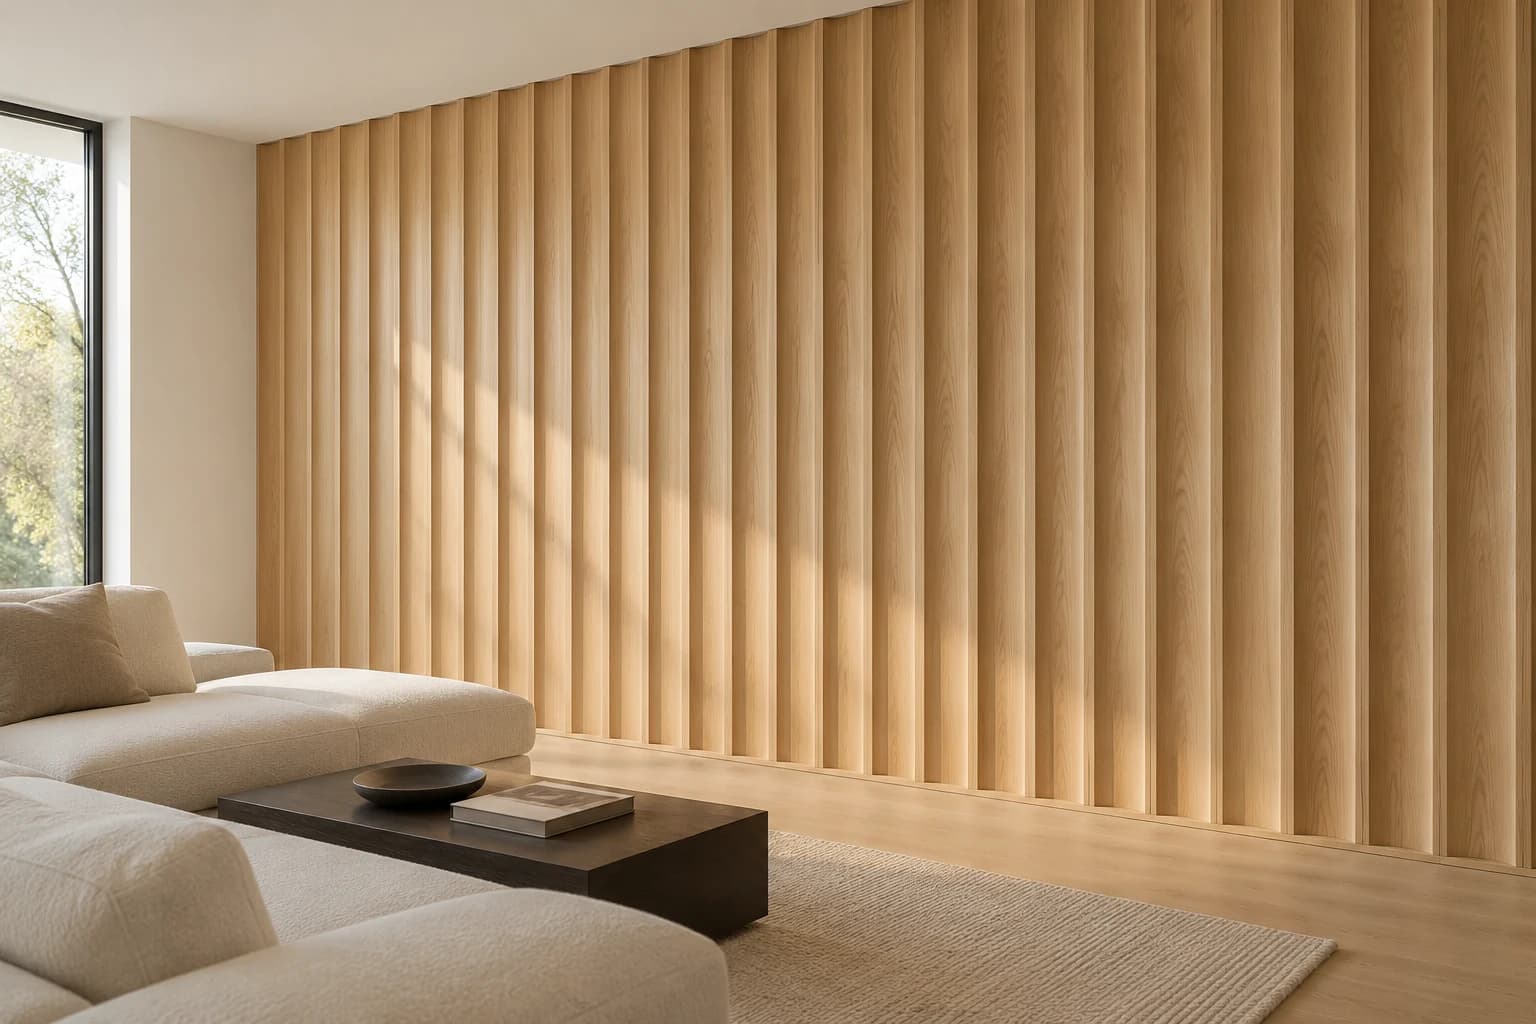
A close-up explains the shape but cannot tell you whether the pattern fits a room. Look at a room-scale view from the doorway and the main seating position. Fine repeats can merge visually at a distance; wider repeats become stronger architectural lines. Plan the first and last repeat so the wall does not end with an awkward sliver beside a casing.
Decide finish, lighting, and transitions together
Painted MDF offers a continuous color direction; veneer introduces wood grain and natural variation. Strong side lighting emphasizes small surface differences and joints. Review a sample in daylight and evening light, then resolve external corners, outlet extensions, top edges, and transitions to baseboards before approving the layout. The library concepts illustrate design directions, not a promise that every pictured profile is a stocked product.
See these ideas in the design library →
Related guides
Continue planning
Bring the room into the conversation.
Photos, approximate dimensions, location, inspiration, and known conditions are enough to start.